How to Use Supply and Demand Zones Without Treating Them as Guaranteed Reversal Points
Last checked: 11 October 2026. This guide treats supply and demand zones as areas of interest that need confirmation, risk control and testing. No method here is a signal. Educational content only, not financial advice. Trading leveraged products such as forex and CFDs carries a high risk of loss. European regulators have reported that 74 to 89 percent of retail CFD accounts lose money, and past results never guarantee future results.
Supply and demand trading is popular because the idea is intuitive: when price left an area with a strong, fast move, big orders may remain there, so price may react when it returns. Charts full of coloured boxes make the idea look precise. The danger is that many traders turn those boxes into guaranteed reversal points, sell at the top edge of a supply box with no confirmation and lose when price runs straight through. This guide explains how zones are drawn, how to rank them, how to wait for evidence and how to size the risk when the zone fails.
What a zone is
A supply zone is a price area from which price dropped sharply, and a demand zone is an area from which price rose sharply. The zone is usually the small base, a few narrow candles, before the sharp move. Educational pages describe it as the origin of an imbalanced move, where buyers or sellers overwhelmed the other side and left unfilled orders. This is a theory about order flow, not something you can see directly on a retail chart.
How it differs from support and resistance
A support or resistance level gains standing from repeated reactions. A supply or demand zone is usually prized when it is fresh, meaning price has not returned since the departure, and is conventionally weakened by each test. Some traders argue the two ideas are the same thing seen differently. Whichever view you take, both are areas of probability, and our support and resistance guide covers the shared rules for drawing them.
Ranking zones before you trust them
- Freshness. Zones price has not revisited are treated as stronger than zones tested several times.
- Departure strength. A strong, fast move away from the base is better than a slow drift.
- Higher-timeframe alignment. A demand zone inside a higher-timeframe uptrend, or at higher-timeframe support, is stronger than one fighting the trend. Zones from higher timeframes generally carry more weight than intraday zones.
- Room to run. A short from a supply zone that is directly above a daily demand area has little room before it meets opposition.
Some educators suggest grading zones A, B or C on these points and using only the best for full-size trades. Treat any grading system as your own tool and test it.
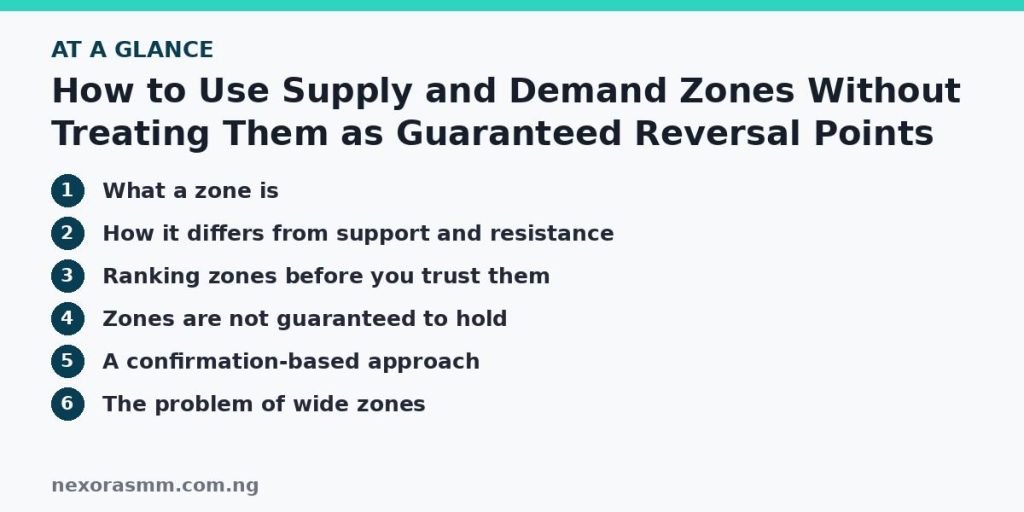
Zones are not guaranteed to hold
Even the educators who teach zones are clear on this. One reference states that fresh zones still fail, and another trading education article says most zones do not hold. Common reasons are a break and acceptance beyond the zone, a news release, a stronger higher-timeframe trend or simply that no large orders were left. After a decisive break and acceptance on the other side, a zone is often removed or flipped, so a failed demand zone may become supply on a retest from below.
A confirmation-based approach
- Identify the trend on the higher timeframe. Prefer demand zones in uptrends and supply zones in downtrends.
- Mark a limited number of fresh zones and remove old, consumed ones.
- Wait for price to return and show a reaction at the zone, such as a rejection wick or a lower-timeframe shift in structure. Blind limit orders in the middle of a falling market can fail even when the zone was drawn perfectly.
- Place the stop beyond the far edge of the zone, with a little room for noise.
- Target the next opposing zone or a nearby structural level, and calculate the risk-to-reward ratio before entering.
- Size the position from the stop, not from what you hope to make.
The problem of wide zones
A zone can be 40 pips tall. A stop beyond it means a larger risk per lot, so the lot size must shrink. If the resulting reward-to-risk is poor, skip the trade or wait for a lower-timeframe refinement that gives a tighter, still logical stop. Do not squeeze the stop inside the zone just to enlarge the lot, because zones are areas and not exact prices.
Test before you trust
Some zones react cleanly on a first touch for one instrument and slice through on another. Before using real money, record how your zone rules would have performed over a large number of historical examples, include costs and then confirm on a demo account. See our guide on backtesting a strategy without fooling yourself.
Common mistakes
- Entering at the first touch without any confirmation.
- Drawing zones on every impulsive candle and cluttering the chart.
- Ignoring the trend and trading every zone in both directions.
- Keeping zones on the chart long after price has traded through them.
- Using the same risk size for an A-grade and a C-grade zone.
What this article cannot tell you
- How often a fresh zone reacts. Some pages quote high win rates, but I did not find a reliable independent statistic and I do not repeat them.
- Whether supply and demand zones add anything beyond support and resistance. Educators disagree.
- Whether large orders actually remain at a zone. That is a theory about order flow that retail traders cannot observe directly.
Frequently asked questions
Is a supply zone the same as an order block? Some educators treat them as related, but definitions differ. Check which one a source uses.
How long does a zone stay valid? There is no fixed time. A fresh zone may stay relevant until price returns, and it is weakened by tests and by a decisive break.
Should I trade every zone? No. Rank them and take only those that match the trend, the higher timeframe and your risk rules.
Key takeaways
Supply and demand zones are areas where an earlier strong move began. Use fresh, higher-timeframe zones that agree with the trend, wait for a reaction, place the stop beyond the zone and size the trade from that stop. Because even fresh zones fail, plan for the loss before you enter.
Sources checked
- LuxAlgo Library, “Supply and Demand Zones”
- Trade-Ideas, “Supply and Demand Zones Explained”
- IC Markets, “Supply and Demand: Learn to Identify Powerful Reversal Zones”
- Scanz, “Supply and Demand Trading: How to Identify the Zones That Hold”
- Tradervue, “How to Trade Supply and Demand”
Educational content only — not financial advice. Income and savings results vary and are never guaranteed. How we write
Enjoyed this story?
Get the best stories delivered weekly.